

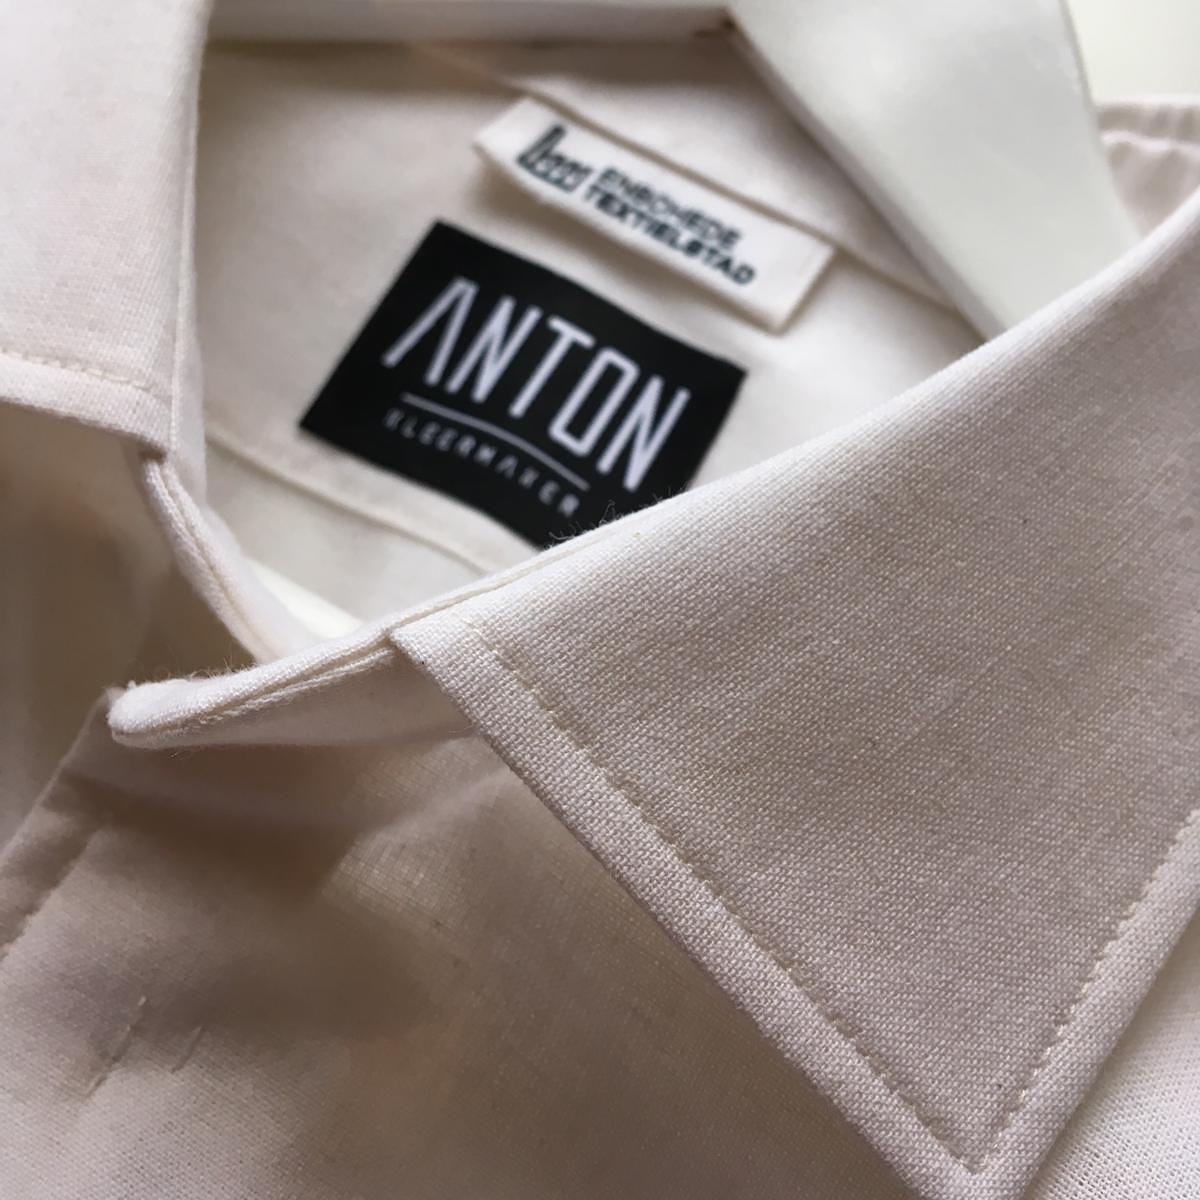
How do you iron a sustainable shirt?
People often ask me how they can improve their ironing skills. The most important tip for this is: practice! Because practice makes perfect.
The shirt is one of the most difficult items to iron, and at the same time a piece of clothing that can use a good ironing after a wash. My first tip: take your time, especially when you are starting. A little focus and attention will help you improve your skills.
Requirements for ironing your shirt
Start at the beginning: the iron. For ironing a shirt it’s best to choose an iron without too many extra functions. Just a standard iron with different heat settings will do the trick. You don’t need steam or water. That is, not from the iron. A (plant) spray bottle, on the other hand, might come in handy.
Tips for a wrinkle-free shirt
- Wash the shirt at 30 degrees. Washing too hot is not good for the environment and, moreover, often not necessary at all. A hot iron kills bacteria and stains can be treated before your shirt is washed.
- Centrifuge at a maximum of 900 turns. Do not allow the shirt to dry (too long), but take it directly to the ironing board.
- Most shirts made from (recycled) cotton can be ironed rather hot. However, never start on the highest heat setting. You can always add some warmth if needed.

Step-by-ste- guide for ironing your sustainable shirt
- Start ironing the small parts: collar, upright and cuffs. The following applies at all times: place the piece of fabric that you want to iron as flat as possible on the ironing board.This is a bit of searching in the beginning, but you quickly get routine in it.
- Once you have positioned the fabric properly on your ironing board, start ironing. Do not press too hard. Let the iron do the work.
- Continue with the sleeves. Place them straight on the ironing board, sleeve seams facing downwards. You can iron it flat.
- Then continue with the back piece. Tip: use a round press cushion for the darts (if there are any). Don’t have a round press cushion? Then it might take you more time to lay the shirt flat on your ironing board. Just take your time for that.
- Finally the front. You do this last because it’s the most visible part which should look the best. If you start with the front, you have the chance that it is wrinkled again before you are ready.
- Hang the shirt on a hanger and let it dry afterwards. Because the shirt is still damp, and already smoothed out, you will see that you get to the perfect result when the shirt is dried.
You usually do not need extra water while ironing the shirt. If you need extra water, then you can use a plant sprayer for that.
Like I said, ironing a shirt is pretty hard, but don’t give up too quickly. If you get a little more routine, then things will get better. Good luck!